News and insights on animal health management for working and farm animals

Category: Nutrition & Metabolism

Understanding Pain Recognition in Donkeys and Mules

Understanding Pain Recognition in Donkeys and Mules

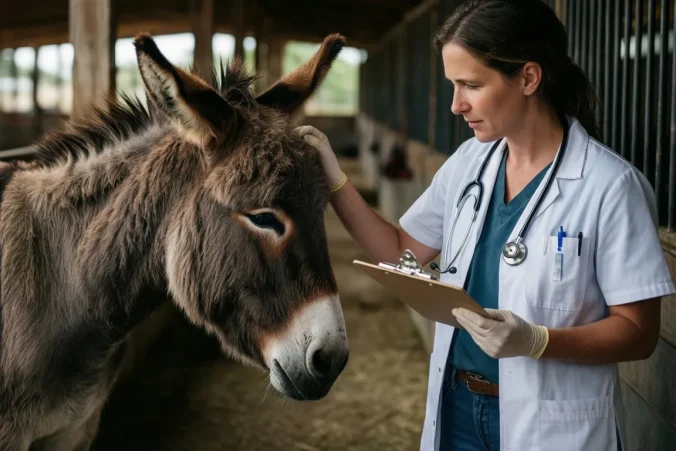
You notice pain in donkeys and mules through quiet changes rather than loud complaints. These animals often mask discomfort, so you catch it by tracking their normal patterns each day.

Why Their Pain Looks Different

Donkeys and mules evolved to stay still when they hurt. A horse might limp or call out, but these animals just stop moving much or turn their head away from feed.

Watch what happens at feeding time. A mule that normally cleans its bucket might take a few bites then walk off. That small drop in appetite often appears before any posture change.

Signs That Show Up in Real Situations

  • A donkey stands with its weight shifted back but still eats hay when you offer it by hand.
  • The mule that usually follows you to the gate now waits for you to come to it.
  • Ears stay pinned back during grooming even though nothing touches a sore spot.
  • Manure piles look smaller or drier than the day before.

Check these points at the same time each morning. One changed item on its own rarely means much, but two or three together point to discomfort.

Daily Field Checks

  1. Walk past the animal first and note whether it turns its head toward you.
  2. Offer a handful of feed and count how many bites it takes before it stops.
  3. Run your hand along the back and watch for any flinch or ear movement.
  4. Look at the feet and legs while the animal stands square; note any resting of a limb.
Check Normal Possible Pain
Greeting Steps forward Stays put
Appetite Finishes portion Leaves half
Posture Even weight One hip dropped

Preventing Parasite Resistance in Grazing Sheep: Integrated Management Plans

Preventing Parasite Resistance in Grazing Sheep: Integrated Management Plans

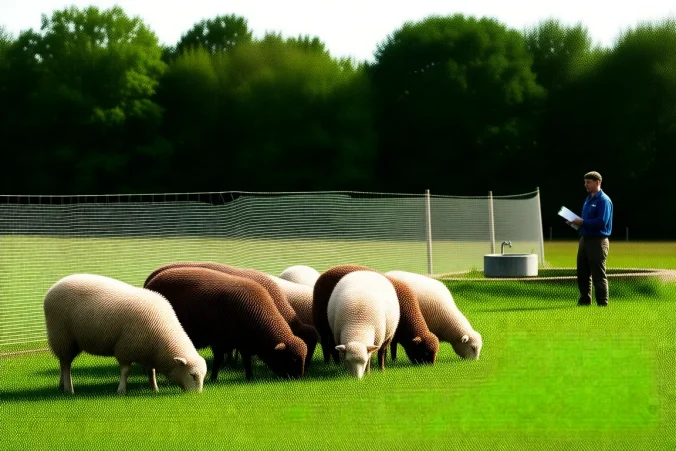
Start with fecal egg counts every four to six weeks on your ewes and lambs. That single habit keeps you from treating the whole flock on a calendar and slows resistance on your farm.

You already know the main worm threats in your area. The goal now is to cut unnecessary treatments while still catching the animals that need them.

Build your plan around these steps

  1. Sample ten to fifteen animals from each group. Use a pooled count first. If it stays under 200 eggs per gram, skip treatment.
  2. Treat only the animals that show signs or high counts. Leave the rest to dilute the worm population on pasture.
  3. Move treated sheep to clean pasture or graze them behind cattle. Cattle break the sheep worm cycle.
  4. Record every treatment with date, product, dose, and which animals got it. Review the log at the end of the season.

In early summer, one producer I know checks lambs at six weeks old. Only the ones with rough coats or loose manure get dosed. The rest stay untreated until the next check.

Season Check timing Action threshold
Spring 4 weeks after turnout 300 epg or visible signs
Summer Every 5 weeks 250 epg
Fall Before housing Any count over 200 epg
  • Rotate paddocks so sheep return to the same ground only after 45 days or more.
  • Run a few cattle or goats with the flock when pasture growth slows.
  • Keep refugia by never dosing every animal at once unless a clear outbreak hits.

Watch your records for two years. If you see the same product losing effect, switch classes and keep the sampling schedule tight.

Managing Heat Stress in Working Horses: Cooling Strategies and Hydration

Managing Heat Stress in Working Horses: Cooling Strategies and Hydration

When temperatures climb above 80 degrees and your horse has been hauling gear or covering miles, heat stress can set in within thirty minutes. I start by offering water and checking breathing before the horse even stops moving.

Watch for the First Signs

You notice changes in gait and breathing before the horse shows obvious distress. Check these markers after every heavy session.

  • Respiration stays over 60 breaths per minute five minutes after work ends
  • Flared nostrils and skin that stays tented for more than two seconds
  • Stumbling or reluctance to move forward on familiar ground
  • Body temperature above 102.5 degrees taken under the tail

Keep Water Moving

Horses lose 5 to 10 gallons on a warm two-hour ride. Place buckets at every rest point rather than relying on one big drink at the barn.

  • Offer plain water first, then add electrolytes only if the horse has sweated heavily for more than an hour
  • Use a 5-gallon bucket with a handful of loose salt stirred in when daytime highs exceed 85 degrees
  • Check intake by measuring what remains after thirty minutes; a drop below three gallons signals trouble

Cool in Stages

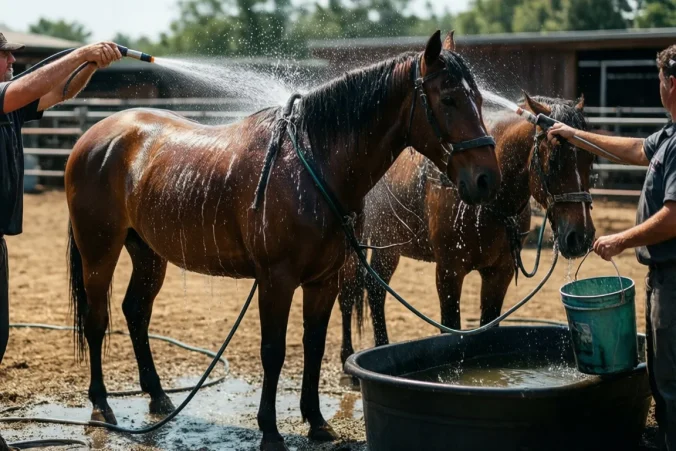
Start with the legs and work upward. Never hose the whole horse at once when the air is humid.

  1. Walk the horse in shade for two to three minutes
  2. Run cool water over the legs and lower belly only
  3. Scrape off water immediately so it does not trap heat
  4. Repeat the cycle two more times, then check temperature again
  5. Move into a breezy barn or under fans once the reading drops below 101.5

Match Electrolytes to the Day

Work Level Example Situation Electrolyte Plan
Light 45-minute trail ride at 75 degrees Plain water only
Moderate Two-hour lesson with jumping at 82 degrees One dose in water after cool-down
Heavy Three hours of field work above 88 degrees Two doses spaced two hours apart

Build Recovery Into the Schedule

After a hot morning session I give the horse at least four hours before any further work. Keep a simple log on your phone: time finished, water taken, temperature at thirty minutes. Patterns show up fast and let you adjust the next day’s plan before problems repeat.