News and insights on animal health management for working and farm animals

Category: Clinical Management

Emergency First Aid for Working Animals: A Step-by-Step Guide for Farmers

Emergency First Aid for Working Animals: A Step-by-Step Guide for Farmers

When a working dog or horse goes down in the field, you need clear steps you can follow right away. Most farm injuries happen during routine tasks, so we focus on what actually shows up.

Keep a Kit That Matches Your Animals

Store supplies where you can reach them in under two minutes. A basic kit for horses, cattle, and farm dogs covers the injuries we see most.

  • Pressure bandages and rolls of gauze for bleeding wounds
  • Antiseptic solution and saline for flushing cuts from barbed wire or nails
  • Digital thermometer and stethoscope to check vital signs before the vet arrives
  • Splint material and duct tape for temporary limb support on a limping horse
  • Phone numbers for your regular vet and the nearest emergency clinic taped inside the lid

Work Through the First Five Minutes

Secure the scene so you do not get hurt too. Then check the animal in this order.

  1. Move other animals away and tie or pen the injured one if it can stand.
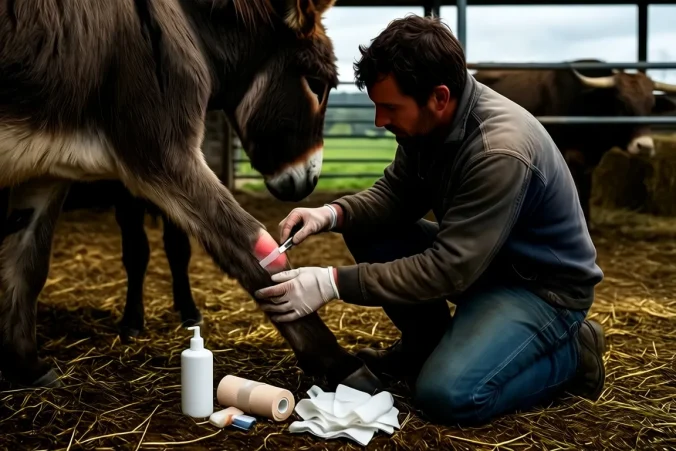
  2. Look for bleeding that will not stop on its own. Press firmly with clean gauze for at least three minutes before checking again.
  3. Feel for a pulse at the jaw or inner thigh and count breaths for fifteen seconds, then multiply by four. Normal rates for adult horses sit around eight to twelve breaths; dogs run higher, near fifteen to thirty.
  4. Flush any open wound with saline or clean water and cover it to keep dirt out until you can do more.

A common case is a cattle dog that catches a hind leg in a gate. Once the leg is freed, we stop bleeding first, then check whether the dog can put weight on the foot before deciding on transport.

Decide on Next Actions

Sign you notice What to do next
Heavy bleeding that restarts after pressure Keep pressure on and load the animal for the clinic
Labored breathing or gums that stay pale when pressed Call the vet immediately while you keep the animal quiet and warm
Swollen limb after a kick or fall, but animal still eats and drinks Apply cold packs, limit movement, and schedule a farm visit for the next morning

Once the immediate issue is under control, load the animal only if it can travel without more damage. Many times we stabilize on site and let the vet come to us.
Laser Therapy and Regenerative Medicine in Equine Practice: Current Evidence

Laser Therapy and Regenerative Medicine in Equine Practice: Current Evidence

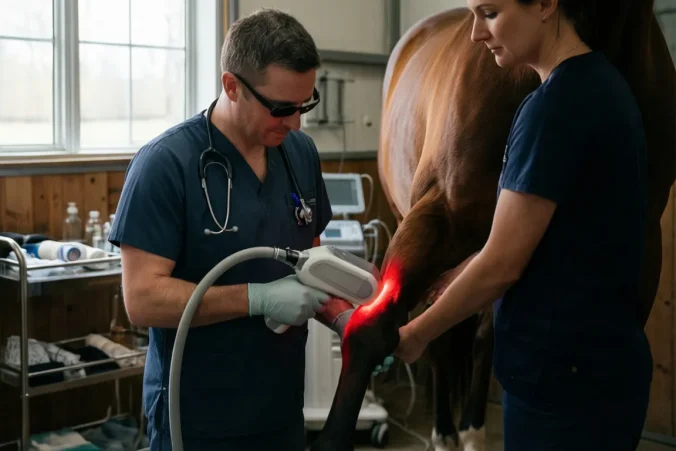
You see these tools showing up more often in lameness exams. The current evidence gives clearest support for laser on superficial tendon and ligament lesions when you pair it with controlled exercise. Regenerative options like PRP add value mainly in cases with core lesions or poor fiber alignment on ultrasound.

Where the Data Stands Right Now

Most published work focuses on Class 3b and 4 lasers at 5-15 J/cm². Studies report reduced swelling and faster return to light work in superficial digital flexor tendonitis, but controlled trials remain small. PRP shows moderate improvement in fiber pattern scores at 30-60 days when injected under ultrasound guidance. Stem cell data stays more mixed and case dependent.

  • Acute tendon strain in a 5-year-old eventer: two laser sessions per week for three weeks plus hand walking produced visible echogenicity gains by day 21.
  • Chronic suspensory branch desmitis: single ultrasound-guided PRP injection followed by laser every 10 days yielded better long-term fiber scores than laser alone in one practice cohort.

Practical Laser Settings That Match the Evidence

Start with the lesion size on ultrasound rather than a fixed protocol. Scan first, mark the area, then treat.

  1. 10-12 J/cm² over the lesion and 2 cm margins, continuous wave, 3-5 minutes per site.
  2. Repeat three times weekly for the first two weeks, then drop to twice weekly while you increase turnout.
  3. Re-scan at 21 days. If fiber alignment has improved at least one grade, shift to once-weekly maintenance.

Owners usually notice less heat and filling after the third or fourth treatment. Skip the laser on open wounds or active infection.

Pairing Laser With Regenerative Injections

Timing matters more than volume. Most practitioners inject first, then begin laser 48-72 hours later once the initial inflammatory spike settles.

Case Type Regenerative Choice Laser Start Follow-up Scan
Core lesion >15% cross-section PRP or BMAC Day 3 Day 30 and 60
Diffuse fiber pattern loss PRP only Day 2 Day 21
Recheck after failed rehab Consider stem cells Day 4 Day 45

You will usually see the biggest additive effect in horses that had already plateaued on exercise alone.

Simple Tracking You Can Run in the Field

Keep a one-page sheet per horse. Record:

  • Ultrasound grade at day 0, 21, and 45
  • Days to return to ridden work
  • Owner-reported heat or swelling score (0-3) at each visit
  • Any setbacks or extra rest days needed

After ten similar cases you will know whether your laser protocol is actually moving the needle on healing times. Adjust energy or frequency only when the numbers tell you to.