News and insights on animal health management for working and farm animals

Tag: transport welfare

The Role of Probiotics in Ruminant Gut Health: What the Latest Research Says

The Role of Probiotics in Ruminant Gut Health: What the Latest Research Says

Probiotics stabilize rumen pH and microbial balance in cattle and sheep. Recent trials show clear drops in acidosis and better feed efficiency when producers add the right strains at the right time.

Putting Probiotics into Daily Rations

Start with your current diet. High-grain mixes often push rumen pH below 5.8. Adding a daily dose of live cultures counters that shift before it turns into off-feed days.

  • Give 10^9 CFU of Lactobacillus plantarum per head in the TMR for dairy cows on 60 percent concentrate.
  • Check manure score three days after you begin. Firmer pats usually appear by day four when the rumen settles.
  • Store the product below 25 C and use it within 30 days of opening to keep viable counts high.

Sheep on pasture need smaller amounts. One gram of a mixed Bacillus and Enterococcus product per 50 kg body weight works for most flocks during spring flush.

What Recent Trials Report on Performance

University work from 2022-2023 tracked 240 Holstein cows across two seasons. Cows that received a daily multi-strain probiotic produced 1.8 kg more fat-corrected milk and showed half the cases of clinical ketosis compared with controls.

Strain mix Animal group Observed change
L. acidophilus + B. subtilis Lactating cows Rumen pH stayed above 6.0 for 18 more hours per day
E. faecium alone Feedlot steers Average daily gain rose 0.11 kg with no extra antibiotic use

Check labels for guaranteed CFU counts rather than vague “probiotic blend” wording. Track body condition and milk components for four weeks after you switch products so you know what actually moved the numbers on your farm.
Understanding Pain Recognition in Donkeys and Mules

Understanding Pain Recognition in Donkeys and Mules

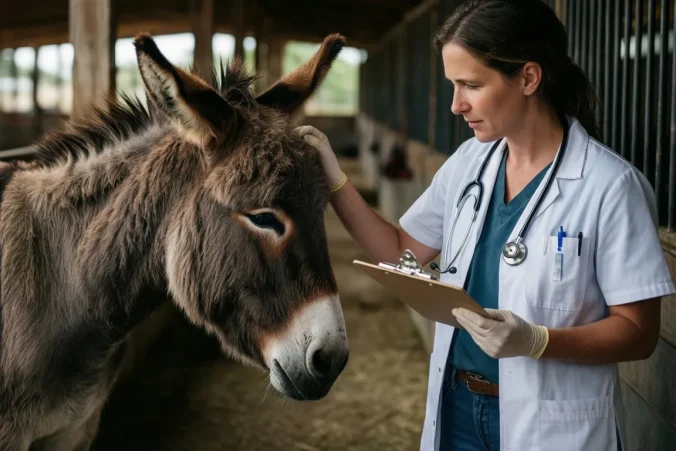
You notice pain in donkeys and mules through quiet changes rather than loud complaints. These animals often mask discomfort, so you catch it by tracking their normal patterns each day.

Why Their Pain Looks Different

Donkeys and mules evolved to stay still when they hurt. A horse might limp or call out, but these animals just stop moving much or turn their head away from feed.

Watch what happens at feeding time. A mule that normally cleans its bucket might take a few bites then walk off. That small drop in appetite often appears before any posture change.

Signs That Show Up in Real Situations

  • A donkey stands with its weight shifted back but still eats hay when you offer it by hand.
  • The mule that usually follows you to the gate now waits for you to come to it.
  • Ears stay pinned back during grooming even though nothing touches a sore spot.
  • Manure piles look smaller or drier than the day before.

Check these points at the same time each morning. One changed item on its own rarely means much, but two or three together point to discomfort.

Daily Field Checks

  1. Walk past the animal first and note whether it turns its head toward you.
  2. Offer a handful of feed and count how many bites it takes before it stops.
  3. Run your hand along the back and watch for any flinch or ear movement.
  4. Look at the feet and legs while the animal stands square; note any resting of a limb.
Check Normal Possible Pain
Greeting Steps forward Stays put
Appetite Finishes portion Leaves half
Posture Even weight One hip dropped

How to Recognize Early Signs of Respiratory Disease in Feedlot Cattle

How to Recognize Early Signs of Respiratory Disease in Feedlot Cattle

You catch most respiratory cases early by walking pens at the same time each morning and noting which animals skip the bunk or lag behind the group.

Check Feed Intake First

Feed disappearance tells you a lot before any animal looks sick. Walk the bunks and count untouched or half-eaten spots.

  • A steer that normally finishes its ration but leaves 30 percent or more is worth a closer look.
  • Whole pens that clean up slower than the day before often signal the start of an outbreak.
  • Mark the head number on your sheet so you can find the same animal again after the rest have moved.

Watch Breathing and Posture

Normal cattle breathe quietly at rest. Stand still for a minute and count flank movements on any animal that stands apart.

  • More than 40 breaths per minute at rest points to trouble, especially if the animal extends its neck slightly to breathe.
  • A short, dry cough that starts when the group moves is common in early cases.
  • Watch for animals that keep their head lower than usual while standing; they are conserving effort.

Look at Eyes, Nose, and Ears

Discharge and ear position change quickly. Get close enough to see both sides of the face on marked animals.

  • Clear or slightly cloudy nasal discharge that starts in one nostril often appears first.
  • One or both ears held lower than the others can mean fever or pain from the lungs.
  • Dull eyes with reduced blink rate show up before the animal becomes obviously depressed.

Take Temperatures on Suspects

Only pull animals that show two or more of the signs above. A quick rectal temperature confirms the next step.

Reading Action
Under 103.5 F Watch again at evening walk; record intake
103.5 to 104.5 F Pull to hospital pen and start first treatment
Over 104.5 F Pull immediately and check for secondary issues

Write the number and time on the same sheet you used at the bunk so the evening crew knows exactly which animals need rechecking.

Managing Heat Stress in Working Horses: Cooling Strategies and Hydration

Managing Heat Stress in Working Horses: Cooling Strategies and Hydration

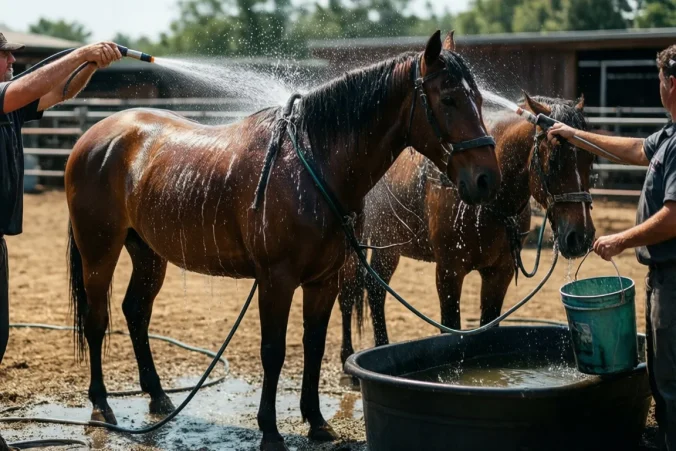
When temperatures climb above 80 degrees and your horse has been hauling gear or covering miles, heat stress can set in within thirty minutes. I start by offering water and checking breathing before the horse even stops moving.

Watch for the First Signs

You notice changes in gait and breathing before the horse shows obvious distress. Check these markers after every heavy session.

  • Respiration stays over 60 breaths per minute five minutes after work ends
  • Flared nostrils and skin that stays tented for more than two seconds
  • Stumbling or reluctance to move forward on familiar ground
  • Body temperature above 102.5 degrees taken under the tail

Keep Water Moving

Horses lose 5 to 10 gallons on a warm two-hour ride. Place buckets at every rest point rather than relying on one big drink at the barn.

  • Offer plain water first, then add electrolytes only if the horse has sweated heavily for more than an hour
  • Use a 5-gallon bucket with a handful of loose salt stirred in when daytime highs exceed 85 degrees
  • Check intake by measuring what remains after thirty minutes; a drop below three gallons signals trouble

Cool in Stages

Start with the legs and work upward. Never hose the whole horse at once when the air is humid.

  1. Walk the horse in shade for two to three minutes
  2. Run cool water over the legs and lower belly only
  3. Scrape off water immediately so it does not trap heat
  4. Repeat the cycle two more times, then check temperature again
  5. Move into a breezy barn or under fans once the reading drops below 101.5

Match Electrolytes to the Day

Work Level Example Situation Electrolyte Plan
Light 45-minute trail ride at 75 degrees Plain water only
Moderate Two-hour lesson with jumping at 82 degrees One dose in water after cool-down
Heavy Three hours of field work above 88 degrees Two doses spaced two hours apart

Build Recovery Into the Schedule

After a hot morning session I give the horse at least four hours before any further work. Keep a simple log on your phone: time finished, water taken, temperature at thirty minutes. Patterns show up fast and let you adjust the next day’s plan before problems repeat.

Laser Therapy and Regenerative Medicine in Equine Practice: Current Evidence

Laser Therapy and Regenerative Medicine in Equine Practice: Current Evidence

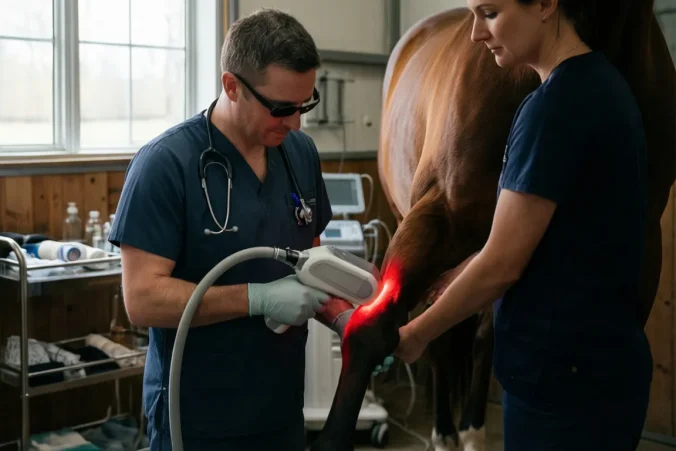
You see these tools showing up more often in lameness exams. The current evidence gives clearest support for laser on superficial tendon and ligament lesions when you pair it with controlled exercise. Regenerative options like PRP add value mainly in cases with core lesions or poor fiber alignment on ultrasound.

Where the Data Stands Right Now

Most published work focuses on Class 3b and 4 lasers at 5-15 J/cm². Studies report reduced swelling and faster return to light work in superficial digital flexor tendonitis, but controlled trials remain small. PRP shows moderate improvement in fiber pattern scores at 30-60 days when injected under ultrasound guidance. Stem cell data stays more mixed and case dependent.

  • Acute tendon strain in a 5-year-old eventer: two laser sessions per week for three weeks plus hand walking produced visible echogenicity gains by day 21.
  • Chronic suspensory branch desmitis: single ultrasound-guided PRP injection followed by laser every 10 days yielded better long-term fiber scores than laser alone in one practice cohort.

Practical Laser Settings That Match the Evidence

Start with the lesion size on ultrasound rather than a fixed protocol. Scan first, mark the area, then treat.

  1. 10-12 J/cm² over the lesion and 2 cm margins, continuous wave, 3-5 minutes per site.
  2. Repeat three times weekly for the first two weeks, then drop to twice weekly while you increase turnout.
  3. Re-scan at 21 days. If fiber alignment has improved at least one grade, shift to once-weekly maintenance.

Owners usually notice less heat and filling after the third or fourth treatment. Skip the laser on open wounds or active infection.

Pairing Laser With Regenerative Injections

Timing matters more than volume. Most practitioners inject first, then begin laser 48-72 hours later once the initial inflammatory spike settles.

Case Type Regenerative Choice Laser Start Follow-up Scan
Core lesion >15% cross-section PRP or BMAC Day 3 Day 30 and 60
Diffuse fiber pattern loss PRP only Day 2 Day 21
Recheck after failed rehab Consider stem cells Day 4 Day 45

You will usually see the biggest additive effect in horses that had already plateaued on exercise alone.

Simple Tracking You Can Run in the Field

Keep a one-page sheet per horse. Record:

  • Ultrasound grade at day 0, 21, and 45
  • Days to return to ridden work
  • Owner-reported heat or swelling score (0-3) at each visit
  • Any setbacks or extra rest days needed

After ten similar cases you will know whether your laser protocol is actually moving the needle on healing times. Adjust energy or frequency only when the numbers tell you to.

Biosecurity Basics for Small-Scale Sheep and Goat Farms

Biosecurity Basics for Small-Scale Sheep and Goat Farms

You already know a single sick animal can move through a small herd fast. The steps below focus on the routines that actually limit spread on farms with 10 to 80 head.

Quarantine New Arrivals

Every new sheep or goat enters the same process, whether it came from a sale barn or a neighbor.

  1. Unload the animal straight into a pen at least 50 feet from the main group. Use a separate water and feed source.
  2. Keep it there for 21 to 30 days. Watch twice daily for coughing, scours, or limping.
  3. Have your vet pull blood for CL, Johne’s, and CAE on day 3 and again on day 21 if the source herd history is unknown.
  4. Only move the animal once both tests come back clear and no symptoms appear.

One ewe bought at auction last spring carried footrot. The 30-day hold caught it before she joined the flock and saved months of hoof trimming.

Daily Movement and Visitor Rules

Most disease arrives on boots, tires, or borrowed equipment rather than in new stock.

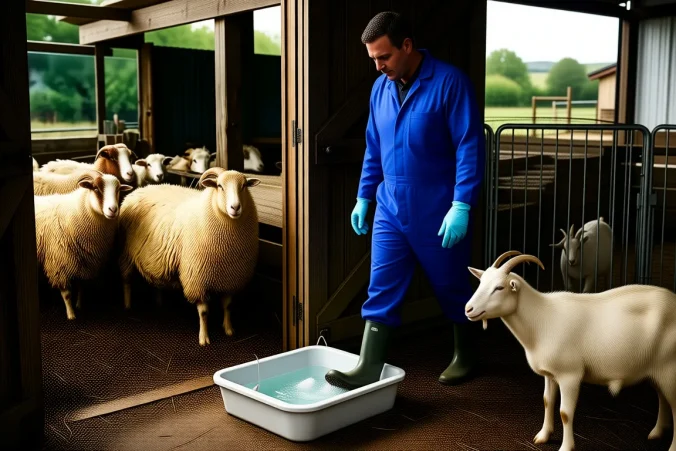
  • Keep a boot brush and bucket of disinfectant at every gate. Scrub and dip before you cross into a new pen.
  • Change coveralls or at least the outer layer when you move from the isolation pen back to the main herd.
  • Ask visitors to park outside the fence line and wear farm boots you provide. Log their last farm visit in a notebook by the gate.
  • Never share drench guns, hoof trimmers, or shearing blades between farms without a full bleach soak and rinse.
Task When Example
Boot dip Every gate crossing After checking the ram pasture
Clothing change After isolation pen Before feeding the does
Equipment clean After each use across farms Shears returned from neighbor

Track these three habits for two weeks and you will see where the gaps actually sit on your place.

Telemedicine for Farm Animals: Opportunities and Limitations

Telemedicine for Farm Animals: Opportunities and Limitations

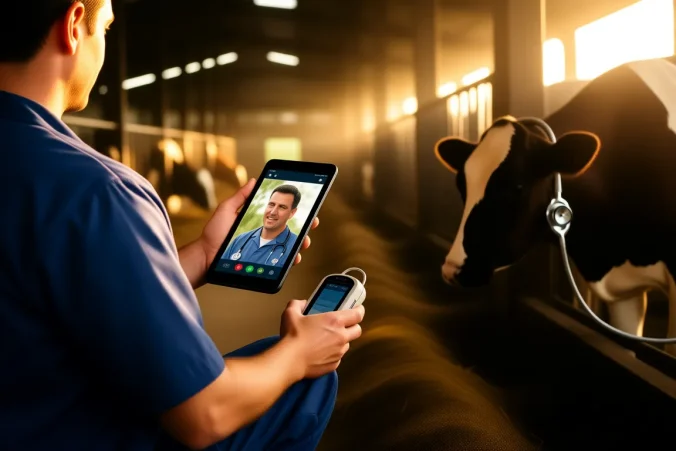
You already know the drive to a distant farm eats hours you do not have. Telemedicine cuts some of those trips without replacing hands-on work. Here is how it fits into real farm days.

When a Video Call Beats a Truck Ride

Start with cases that need eyes and conversation more than touch. You can often sort these without leaving the clinic.

  • Lame cow that the owner filmed the day before
  • Follow-up on a calf scours treatment you started last week
  • Swelling on a horse leg that has not changed in two days
  • Respiratory sounds in a pen of feeder pigs after the first round of antibiotics

Tools That Fit in a Farm Truck

Keep it simple. Most farms already own what you need.

Tool Typical use Notes from the field
Phone or tablet camera Quick video of gait or breathing Good light and steady hold matter more than resolution
Basic messaging app Photos of wounds or manure Owners send pictures before the call
Low-cost otoscope attachment Ear checks in dogs and pigs Works on the same device you already carry

Where It Saves Real Time

One dairy used short video checks on fresh cows three times a week last winter. The vet caught two metritis cases early and skipped two full farm visits. A sheep producer sent daily photos of a ram’s foot rot treatment; the lesion photos guided dose changes without a 40-mile trip each time.

Hard Limits You Cannot Skip

Some jobs still require being there. Blood draws, pregnancy checks, and any procedure that needs sterile field or palpation stay in-person. Poor cell signal on the back forty also kills the connection mid-exam. Owners sometimes over-interpret what they see on a small screen and delay the visit you actually need.

First Remote Visit Checklist

  1. Confirm signal strength with the owner before the appointment
  2. Ask for two short videos: one wide shot, one close-up
  3. Have the owner restrain the animal the same way you would on site
  4. End with a clear plan for when you will come in person if nothing improves