News and insights on animal health management for working and farm animals

Tag: heat stress

Nutritional Strategies to Boost Immunity in Transported Livestock

Nutritional Strategies to Boost Immunity in Transported Livestock

You can raise resistance to stress and illness by changing what and when animals eat in the days right before a haul. The steps below work for cattle, sheep, and goats on trips that last six hours or more.

Start Feed Changes Three Days Out

Begin adjustments early so rumen bugs have time to adapt. Skip last-minute big shifts that can drop intake.

  • Raise vitamin E to 400 to 600 IU per head daily for cattle.
  • Add 0.3 percent zinc from an organic source in the total mixed ration.
  • Keep forage quality steady and avoid sudden grain increases that cause loose manure.

Key Nutrients and Daily Targets

These four items give the clearest payoff during transport stress.

Nutrient Target per head Example for 500 kg steer
Vitamin E 500 IU Top-dress 5 g of 50 percent E premix
Zinc 30 to 40 mg/kg DM Include chelated zinc in mineral pack
Vitamin A 50,000 IU Use in the same premix
Selenium 0.3 mg/kg DM Blend with salt at 90 ppm

Load-Day Electrolyte Checklist

  1. Weigh or estimate total body weight of the group.
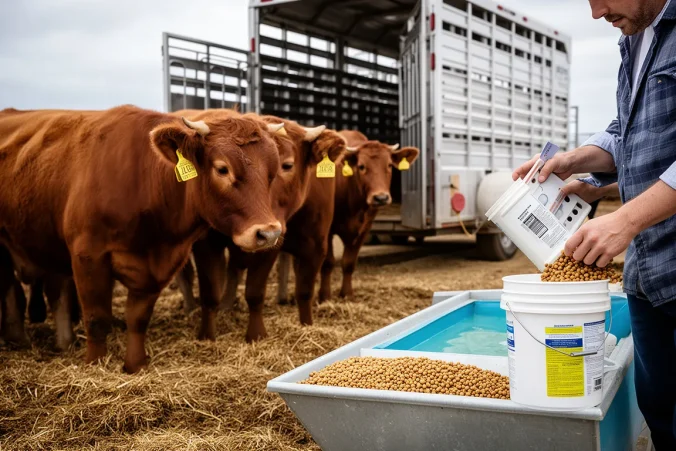
  2. Mix electrolyte powder at 2 g per kg body weight into 10 liters of water per animal.
  3. Offer the mix 45 minutes before loading; most cattle drink 4 to 6 liters.
  4. Skip if animals already have free-choice water and salt.

Handle Transit with Simple Additions

Once animals are on the truck, water access and small feed top-ups matter most. On trips over eight hours, stop every four to six hours and let them drink. Add a probiotic paste at the first stop for groups that look tight in the gut. One 10 g dose per head of a multi-strain product is enough for most 400 kg animals.

Recovery After Unloading

Give animals access to long-stem hay within 30 minutes of arrival. Hold off on heavy grain for the first 12 hours so they can rehydrate. Check manure consistency the next morning; if it is still firm after 24 hours, add another round of electrolytes in the water tank.
Understanding Pain Recognition in Donkeys and Mules

Understanding Pain Recognition in Donkeys and Mules

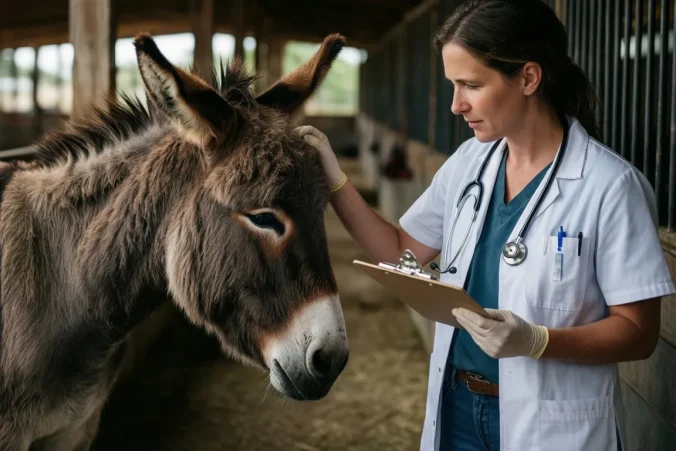
You notice pain in donkeys and mules through quiet changes rather than loud complaints. These animals often mask discomfort, so you catch it by tracking their normal patterns each day.

Why Their Pain Looks Different

Donkeys and mules evolved to stay still when they hurt. A horse might limp or call out, but these animals just stop moving much or turn their head away from feed.

Watch what happens at feeding time. A mule that normally cleans its bucket might take a few bites then walk off. That small drop in appetite often appears before any posture change.

Signs That Show Up in Real Situations

  • A donkey stands with its weight shifted back but still eats hay when you offer it by hand.
  • The mule that usually follows you to the gate now waits for you to come to it.
  • Ears stay pinned back during grooming even though nothing touches a sore spot.
  • Manure piles look smaller or drier than the day before.

Check these points at the same time each morning. One changed item on its own rarely means much, but two or three together point to discomfort.

Daily Field Checks

  1. Walk past the animal first and note whether it turns its head toward you.
  2. Offer a handful of feed and count how many bites it takes before it stops.
  3. Run your hand along the back and watch for any flinch or ear movement.
  4. Look at the feet and legs while the animal stands square; note any resting of a limb.
Check Normal Possible Pain
Greeting Steps forward Stays put
Appetite Finishes portion Leaves half
Posture Even weight One hip dropped

Emergency First Aid for Working Animals: A Step-by-Step Guide for Farmers

Emergency First Aid for Working Animals: A Step-by-Step Guide for Farmers

When a working dog or horse goes down in the field, you need clear steps you can follow right away. Most farm injuries happen during routine tasks, so we focus on what actually shows up.

Keep a Kit That Matches Your Animals

Store supplies where you can reach them in under two minutes. A basic kit for horses, cattle, and farm dogs covers the injuries we see most.

  • Pressure bandages and rolls of gauze for bleeding wounds
  • Antiseptic solution and saline for flushing cuts from barbed wire or nails
  • Digital thermometer and stethoscope to check vital signs before the vet arrives
  • Splint material and duct tape for temporary limb support on a limping horse
  • Phone numbers for your regular vet and the nearest emergency clinic taped inside the lid

Work Through the First Five Minutes

Secure the scene so you do not get hurt too. Then check the animal in this order.

  1. Move other animals away and tie or pen the injured one if it can stand.
  2. Look for bleeding that will not stop on its own. Press firmly with clean gauze for at least three minutes before checking again.
  3. Feel for a pulse at the jaw or inner thigh and count breaths for fifteen seconds, then multiply by four. Normal rates for adult horses sit around eight to twelve breaths; dogs run higher, near fifteen to thirty.
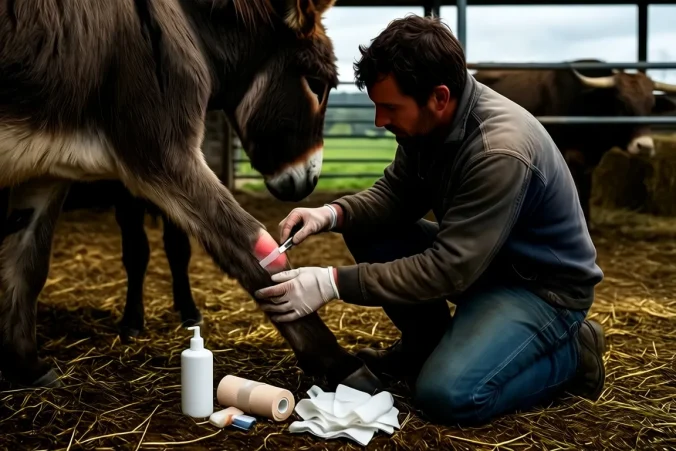
  4. Flush any open wound with saline or clean water and cover it to keep dirt out until you can do more.

A common case is a cattle dog that catches a hind leg in a gate. Once the leg is freed, we stop bleeding first, then check whether the dog can put weight on the foot before deciding on transport.

Decide on Next Actions

Sign you notice What to do next
Heavy bleeding that restarts after pressure Keep pressure on and load the animal for the clinic
Labored breathing or gums that stay pale when pressed Call the vet immediately while you keep the animal quiet and warm
Swollen limb after a kick or fall, but animal still eats and drinks Apply cold packs, limit movement, and schedule a farm visit for the next morning

Once the immediate issue is under control, load the animal only if it can travel without more damage. Many times we stabilize on site and let the vet come to us.

Biosecurity Basics for Small-Scale Sheep and Goat Farms

Biosecurity Basics for Small-Scale Sheep and Goat Farms

You already know a single sick animal can move through a small herd fast. The steps below focus on the routines that actually limit spread on farms with 10 to 80 head.

Quarantine New Arrivals

Every new sheep or goat enters the same process, whether it came from a sale barn or a neighbor.

  1. Unload the animal straight into a pen at least 50 feet from the main group. Use a separate water and feed source.
  2. Keep it there for 21 to 30 days. Watch twice daily for coughing, scours, or limping.
  3. Have your vet pull blood for CL, Johne’s, and CAE on day 3 and again on day 21 if the source herd history is unknown.
  4. Only move the animal once both tests come back clear and no symptoms appear.

One ewe bought at auction last spring carried footrot. The 30-day hold caught it before she joined the flock and saved months of hoof trimming.

Daily Movement and Visitor Rules

Most disease arrives on boots, tires, or borrowed equipment rather than in new stock.

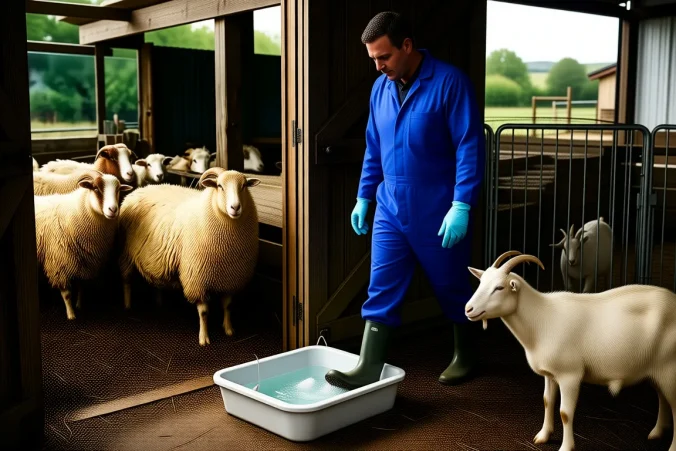
  • Keep a boot brush and bucket of disinfectant at every gate. Scrub and dip before you cross into a new pen.
  • Change coveralls or at least the outer layer when you move from the isolation pen back to the main herd.
  • Ask visitors to park outside the fence line and wear farm boots you provide. Log their last farm visit in a notebook by the gate.
  • Never share drench guns, hoof trimmers, or shearing blades between farms without a full bleach soak and rinse.
Task When Example
Boot dip Every gate crossing After checking the ram pasture
Clothing change After isolation pen Before feeding the does
Equipment clean After each use across farms Shears returned from neighbor

Track these three habits for two weeks and you will see where the gaps actually sit on your place.